How to Build Organizational Charts in Visio
Visio is ideal for building org charts with simple and streamlined graphics. This tutorial covers how to build an organization chart by hand or by importing employee data from an Excel org chart template.
How to Build an Organizational Chart in Visio
-
Create new file
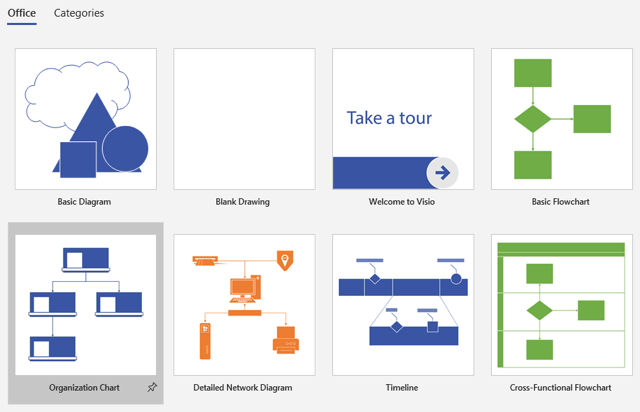
Choose the New option in the File tab, then select Organization Chart.
-
Choose preferences
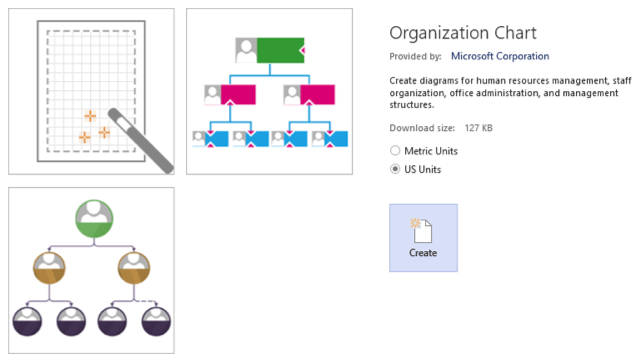
Select Metric Units or US Units, then click Create.
-
Cancel the Organization Chart Wizard
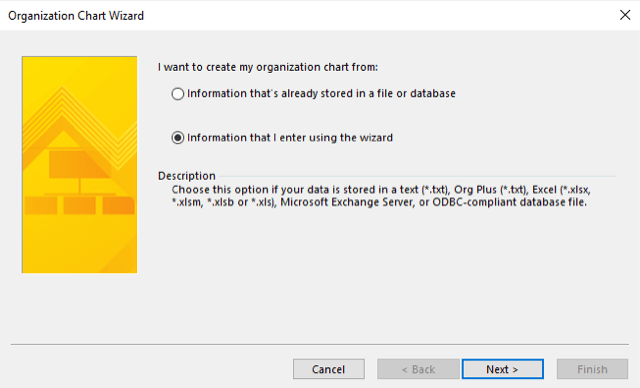
If you want to create an org chart by hand, click Cancel when the Organization Chart Wizard dialog box appears.
-
Add a new shape
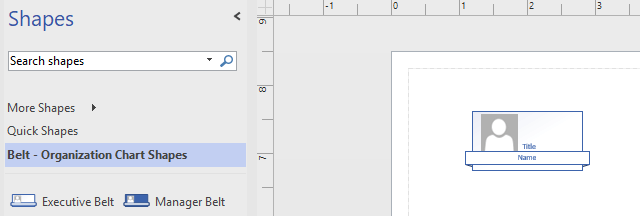
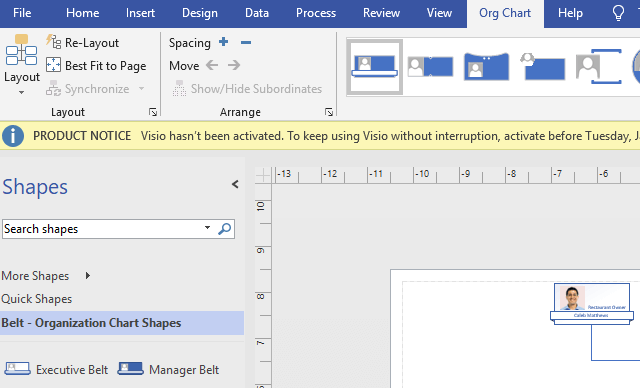
Select the type of employee you want to add from the Shapes box on the left side of the screen. Drag the shape onto the document.
-
Add employee descriptions
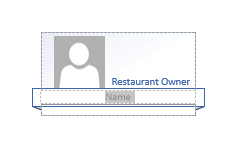
Select Title on the shape and input the employee’s title. Select Name on the shape and input the employee’s name.
-
Change employee pictures
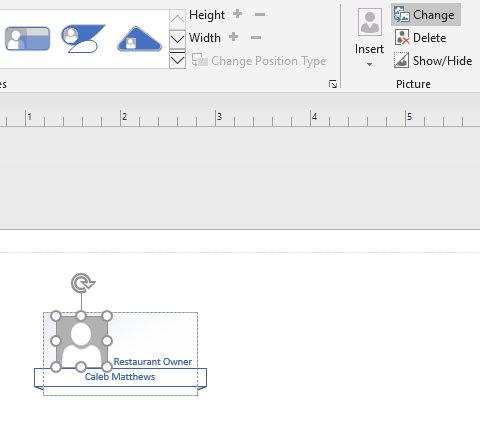
Select the placeholder image. Select Change in the top ribbon of the Org Chart tab. Choose the desired image file from your drive and select Open.
-
Connect employees
Drag an employee’s shape onto the shape of the person they report to. The shapes will automatically connect.

-
Adjust shape style
To adjust the style of the shapes, select the Org Chart tab, then click your preferred shape type from the top ribbon.

Create an org chart that updates automatically
Build Org Chart in PingboardCreate an Org Chart in Visio with Templated Information
-
Download the Visio organizational chart template
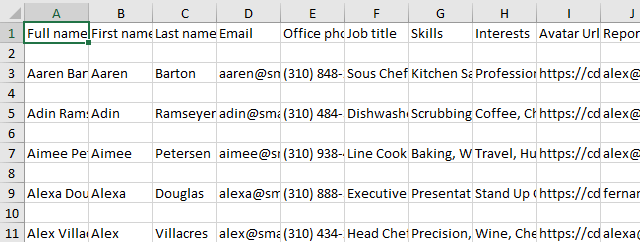
This data file contains common data points found in org charts. Substitute the info in the template with your staff’s info, then save the file before going to the next step.
-
Create a New File
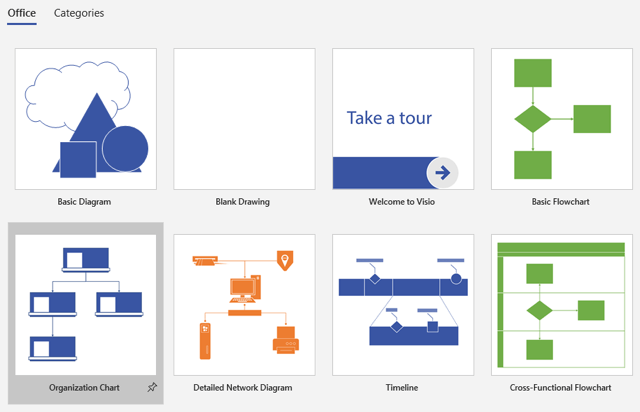
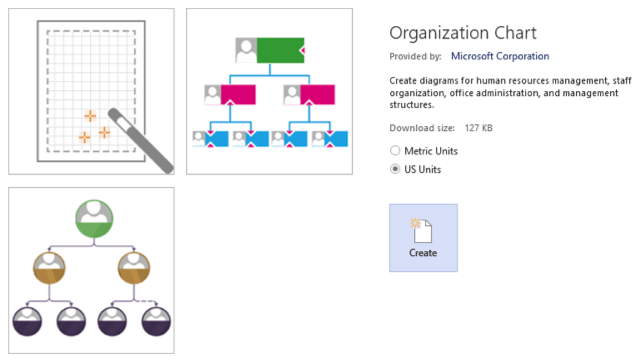
In Visio, choose the New option in the File tab, then select Organization Chart.
-
Choose preferences
Select Metric Units or US Units, then click Create.
-
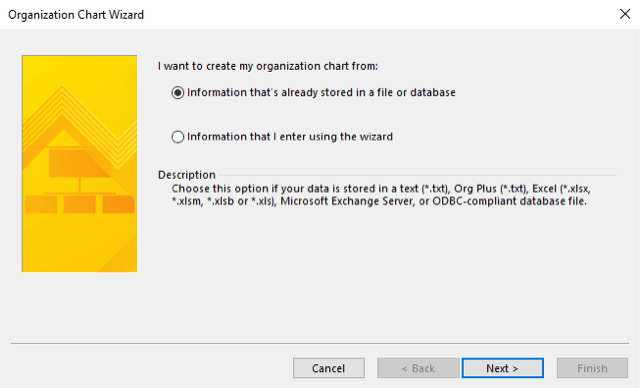
Select the Organization Chart Wizard
Select Information that’s already stored in a file or database when the Organization Chart Wizard dialog box appears. Click Next.
-
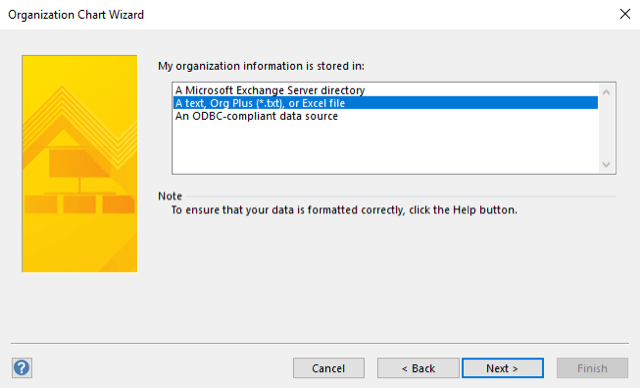
Select the file type
Select A text, Org Plus (*.txt), or Excel file, then click Next.
-
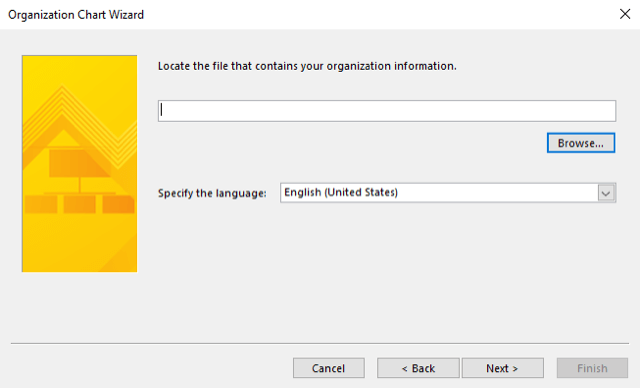
Locate the file
Locate the data file in your drive, then click Next.
-
Choose identifying information
Choose the columns from your file that define the name of the employees and who they report to. If you choose Full Name from the first drop down menu, choose
for the third, otherwise the employee’s first name will appear twice in the chart. Click Next. 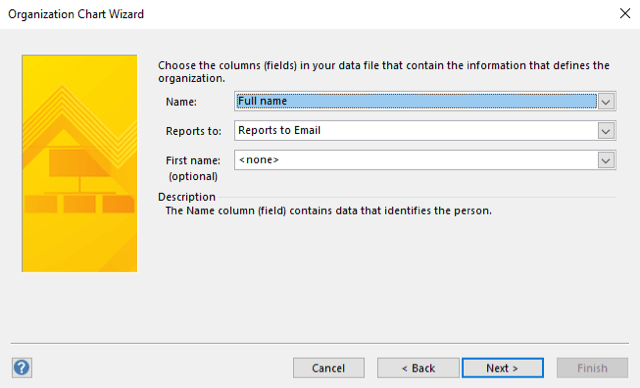
-
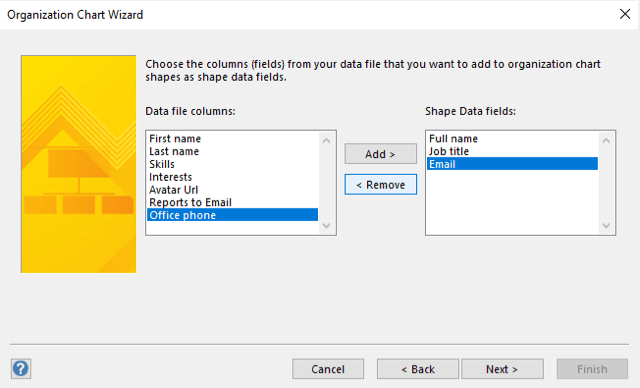
Choose additional information
Add or remove columns from the file that you want to display for each employee, such as their job title and office phone number, then click Next. The next screen will ask for similar information, which will be displayed on each employee’s shape. Add or remove columns to display on each employee shape, then click Next.
-
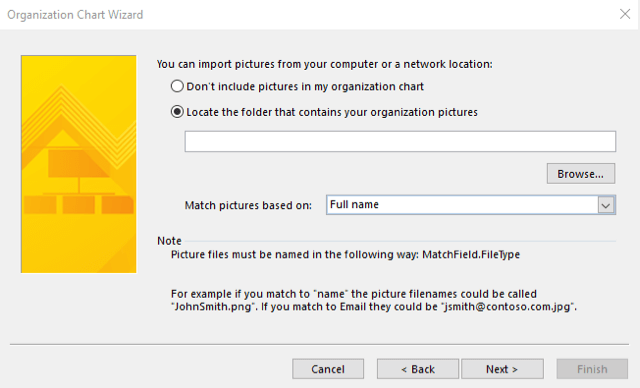
Choose photos
Select Locate the folder that contains your organization pictures, then find the folder. The names of the pictures files need to match the criteria you choose. For example, if you choose Full Name, then the employee’s picture file could be called CalebMatthews.jpg. Click Next.
-
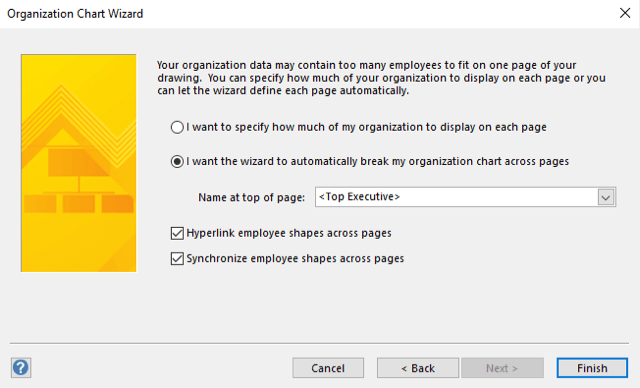
Choose layout
Depending on the size, your chart may need to be split across several pages. To automatically generate the optimized layout, choose I want the wizard to automatically break my organization chart across pages. Click Finish.
-
Adjust layout
To alter the appearance of your org chart’s layout, choose from the options in the Layout group of the Org Chart tab.
Free org chart templates for Visio
Need some examples for different organizational structures in Word? Download templates for hierarchical, functional, matrix, and geographic org charts.